
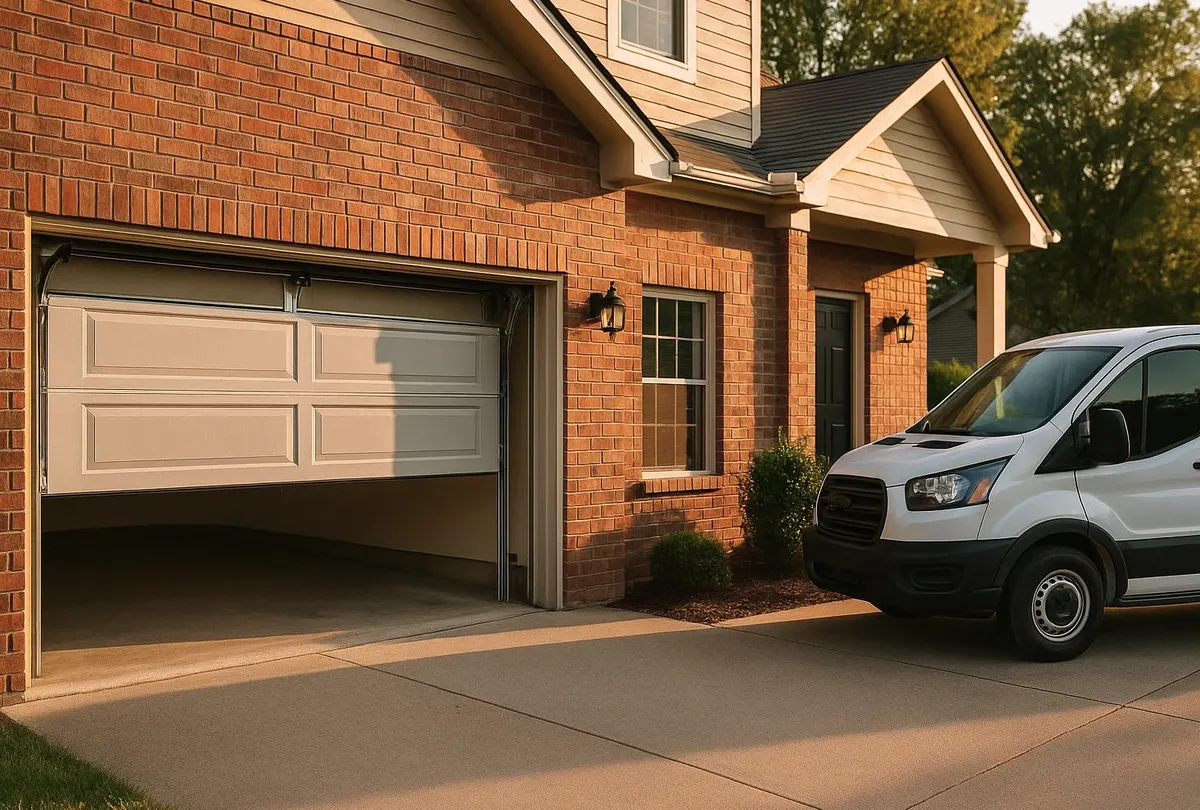
The Moment You Notice It
You're grabbing something off the shelf by the garage door and you see it: a thin line of daylight running along the bottom edge, right where the rubber meets the concrete. Maybe it's not light — maybe it's a draft cold enough to feel on your ankles, or a dusting of fine snow that somehow made it onto the floor overnight. Or you pull out a storage bin and find mouse droppings behind it. All of these start the same way: the seal at the bottom of your garage door has hardened, cracked, or pulled loose, and it's no longer doing its job.
At this elevation, that happens faster than it would at sea level. Intense high-altitude sun breaks down vinyl and rubber seals through UV exposure, and repeated freeze-thaw swings between day and night make the material stiff and brittle. Once it cracks, dry air, blowing dust, meltwater, and cold air all have a straight line into your garage — and so do mice looking for a warm place to spend the winter.
Tools You'll Need
- Tape measure
- Utility knife (sharp, with extra blades)
- Flathead screwdriver
- Rubber mallet
- Replacement bottom seal matched to your track style (bulb-style or T-end — see Step 1)
- Replacement vinyl weatherstripping with nailing flange, for the sides and top
- Hammer and galvanized nails or a staple gun, depending on your jamb material
- Shop broom and a rag
- Work gloves
Step-by-Step: Replacing the Bottom Seal
- Diagnose before you buy. Close the door and look along the full width from inside and outside. Cracking, flattening, or chunks missing from the rubber mean it's time to replace, not patch. Note whether the seal sits in a metal retainer track (common on wood doors) or is a one-piece bulb seal that slides into a groove on the bottom panel (common on steel doors).
- Measure and buy the right profile. Measure the width of your door and add a couple of inches. Bring a short cut of the old seal, or at least a clear photo of the channel shape, to the hardware store — bulb seals and T-end seals are not interchangeable.
- Open the door partway to get working room, then release manual control (check your door's manual lock or disconnect the opener per your model) so it stays put while you work.
- Remove the old seal. If it's in a metal retainer, pry the retainer open slightly with the flathead screwdriver and slide the old rubber out. If it's a direct groove seal, pull it free by hand — cold, brittle rubber may come out in pieces, which is fine.
- Clean the channel. Dirt, pine needles, and gravel collect in that groove all summer and fall. Wipe it out completely so the new seal seats fully.
- Cut the new seal to length, leaving a small overhang on each end rather than cutting it flush — you can trim later, but you can't add material back.
- Feed the new seal into the channel, starting at one end and working across. Use the rubber mallet to gently tap the retainer closed if your door uses one.
- Close the door and check contact. The seal should touch the floor evenly along its whole length, with no visible gaps at the corners. If one end is tight and the other has daylight, the door itself may be out of level — more on that below.
Step-by-Step: Side and Top Weatherstripping
- Pull the old strip off the jamb. It's usually nailed or stapled along a vinyl flange; old nails often come out with the strip.
- Measure each side and the top separately — corners rarely line up perfectly, so don't assume one length fits all three.
- Cut new strips to length with the utility knife, angling the top corners slightly so they meet the side pieces cleanly.
- Nail or staple the flange every 10–12 inches, keeping the rubber bulb facing the door so it compresses when the door closes.
- Close the door and run a hand along the inside edge feeling for any spot where you can wiggle a finger through. Adjust and re-nail as needed.
Where This Is a Homeowner Job — and Where It Isn't
Replacing a worn bottom seal or side weatherstripping on a standard sectional door is well within reach for most homeowners with an afternoon and basic tools. It's inexpensive, the parts are widely available, and the payoff — a dry, draft-free garage — is immediate.
Call in a technician if: the seal fits snugly on one side but gaps badly on the other (the door or track may be out of level); the metal retainer is bent, rusted shut, or won't hold a new seal; your door is an insulated or custom model with a proprietary bottom astragal system; the concrete floor itself is uneven or sloped, which needs a threshold seal properly fitted rather than just a new bottom seal; or anything about the job puts you near the torsion spring assembly — that's never a DIY repair.
When to Call Woodland Park Garage Door Specialists
If you've replaced the seal and still get drafts, water, or pests getting in, or if the door doesn't sit level enough for a seal to do its job, it's time to call us. Our Garage Door Repair visits include checking the door's balance, track alignment, and hardware — not just the seal — so you're not replacing the same part again next year. And if it's been a while since anyone's looked at the rollers, hinges, and opener, our Preventive Maintenance service catches small issues like this before they turn into a cold, damp garage in January.
Get your garage door sealed up right before the deep winter sets in — call Woodland Park Garage Door Specialists today, serving Woodland Park, CO and the surrounding Teller County area.